
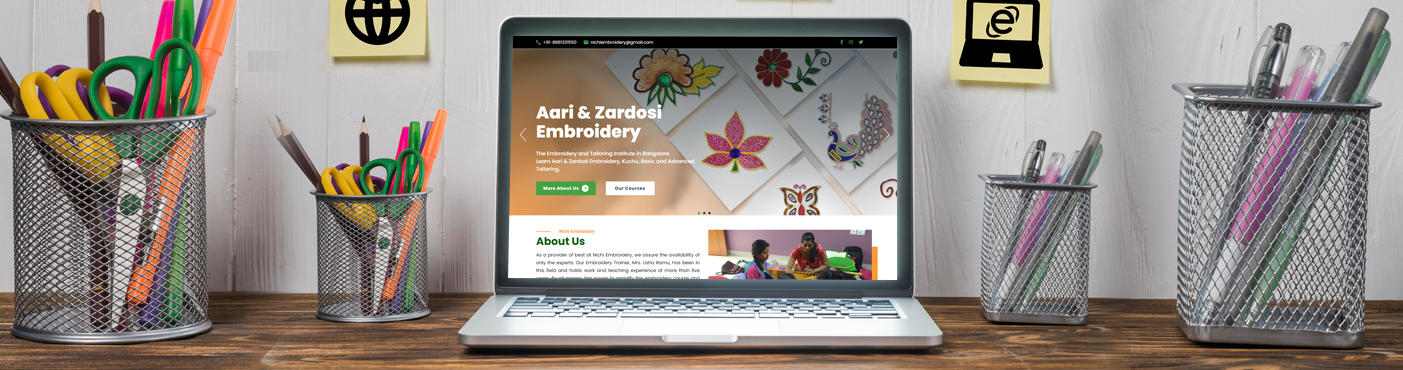
Aari Embroidery Techniques: Tips for Beginners and Advanced Crafters
Delicate yet bold. Traditional yet timeless. Aari embroidery is more than just needlework, it is a captivating art that brings designs to life with fine threads, beads, sequins, and stones. Rooted in traditional Indian embroidery styles, particularly in regions like Gujarat and Kashmir, Aari work has adorned royal garments, bridal trousseaus, and high fashion for centuries. When exploring different styles of needlework, it helps to understand the difference between hand embroidery vs Aari embroidery. While both are rich in artistry, Aari offers speed and intricacy with the help of a specialized needle.
If you are a passionate beginner who is ready to pick up Aari needlework or a seasoned crafter looking to refine your stitches, this blog is for you. This article will guide you through everything essential from tools and materials to expert techniques, ensuring you have a fulfilling creative journey.
What is Aari Embroidery?
Aari embroidery refers to a form of chain stitch done using a specialized hooked needle known as an "Aari" or "tambour" needle. The technique allows fine and flowing patterns that are detailed and elaborate, and is known for its efficiency and seamless integration of various adornments (beads, sequins, zari, and pearls).
Aari work is typically done on a tightly stretched fabric over a wooden frame, where the artisan works from the top of the fabric. They move the hooked needle in a swift, circular motion, pulling loops of thread through the material.
Tools and Materials Needed for Aari Work
Having the right embroidery hoop and tools for Aari is the key to ensuring a smooth stitch and professional finish. Here are some tools that will help you in your creative journey.
- Aari Needle: A hooked needle used to create chain stitches.
- Wooden Embroidery Frame (Adda Frame): This helps in keeping the fabric taut and makes the stitching easier.
- Thread: Cotton, silk, or zari threads, depending on the design.
- Beads, Sequins, and Stones: For embellishing the embroidery.
- Scissors: Small and sharp for trimming thread ends.
- Chalk or Fabric Marker: To sketch the design on the fabric.
- Scissors: Small and sharp for trimming thread ends.
- Tracing Paper and Carbon Sheet: For transferring designs to fabric.
Basic Aari Work Techniques
For those exploring Aari embroidery for beginners, it is crucial to master the foundational stitches and movements first. Here are some basic Aari work techniques.
- Chain Stitch Chain stitch forms the foundation of Aari embroidery. It is made by pulling the thread up through the fabric and looping it back down using the hooked needle. The continuous chain stitches form lines and outlines for the designs.
- Bead and Sequin Work Once the basic stitch is mastered, crafters can begin to add beads and sequins by looping the thread through before making each stitch.
- Zardozi Stitch Used for metallic embellishments, the zardozi technique is similar to chain stitch but uses thicker metallic threads and sometimes incorporates wires.
- Mirror Work With the help of tiny mirrors, crafters secure them onto the fabric with thread using a decorative stitch. This brings a shimmering touch to the embroidery.
Step-by-Step Guide: How to Do Aari Embroidery Work
✦ Step 1: Prepare Your Frame
Fix your fabric tightly onto the adda frame and make sure its wrinkle-free for clean stitching.
✦ Step 2: Transfer Your Design
Using tracing paper and a carbon sheet, transfer your design onto the fabric and secure it with chalk or marker lines.
✦ Step 3: Thread the Aari Needle
Pass the thread through the needle, pulling it through the hooked tip to secure it in place. You will work from the top of the fabric, but the thread will be fed from underneath.
✦ Step 4: Start with Basic Chain Stitch
- Insert the hook into the fabric at the starting point.
- Catch the thread underneath and pull up a loop.
- Continue inserting the needle a short distance ahead and catch the thread again to form a chain.
✦ Step 5: Add Embellishments
Once you are comfortable, add beads or sequins by threading them onto the needle before completing each stitch.
✦ Step 6: Finish and Secure
Once your design is complete, tie off your threads securely on the underside of the fabric to avoid unraveling. Neatly trim excess threads.
Advanced Aari Work Techniques
And if you are an experienced crafter with the basics and ready to challenge yourself, here are some advanced Aari embroidery techniques that can elevate your work:
✔ Thread Shading
This method uses a mix of thread shades to produce a gradient look or a three-dimensional effect. It will give your design more depth and realism.
✔ French Knots
These are small, raised knots made by twisting the thread around the needle before pulling it through the fabric. Ideal for floral centers or dotted textures.
✔ Cutdana and Stone Work
Advanced crafters can add sparkle and texture using decorative stones and glass-cut beads. It requires careful placement and uniform tension.
✔ Appliqué with Aari
Combining patchwork and Aari embroidery, this technique involves stitching fabric pieces onto the base fabric and embellishing the edges with chain or zardozi stitches.
Common Mistakes to Avoid in Aari Work
Aari embroidery techniques require patience and practice. Here are some common pitfalls and how to avoid them:
- Loose Fabric on the Frame: Always ensure the fabric is tightly stretched. A sagging fabric surface makes stitching difficult.
- Improper Needle Threading: Always ensure the thread is fed properly through the hooked needle. Incorrect threading can cause tangles.
- Overtight Stitches: Pulling the thread too tight can bunch the fabric and distort the design.
- Skipping Design Transfer: Freehanding may lead to imbalanced designs. Always trace your design first.
- Using the Wrong Fabric: Slippery or stretchy fabrics are harder to manage. Start with stable fabrics such as cotton or silk blends.
- Neglecting Thread Quality: Low-quality thread can break easily and affect the final appearance.
Conclusion
Aari embroidery is not just a craft, it is an ever-lasting tradition that combines artistry, patience, and creativity. From basic floral patterns to intricate bridal embellishments, learning Aari embroidery patterns and designs unlocks a world of possibilities.
By using Aari embroidery tips and tricks to stitch each loop, you are not just creating a pattern; you are weaving a story that reflects culture, craftsmanship, and personal expression.